It all begins with a soil test!
To maximize the genetic potential of your crop and to get the most from your fertility budget, you need to know a few things:
- What level of nutrients are in the soil?
- How much of each nutrient is required to achieve your target yield?
- How to implement a full season nutrient management plan to address deficiencies and imbalances within the soil?
Tips as to how to get started with collecting a soil sample:
- Consistency – collecting each sample in a uniform manner between years and within the course of a sampling event will greatly improve the quality and reliability of your result (may it be randomized, benchmark or grid/zone sampling techniques). Nutrient levels may vary within the year due to leaching, moisture conditions, soil temperature and biological activity resulting in soil pH changes. Therefore, the time of soil sampling for a field should be consistent from year to year to ensure consistent historical data.
- Use visual clues, technology (e.g., geo-referencing) and common sense to select core sites – i.e., take all samples from mid-row and use a benchmark system where sample spots are marked on GPS and returned to year after year.
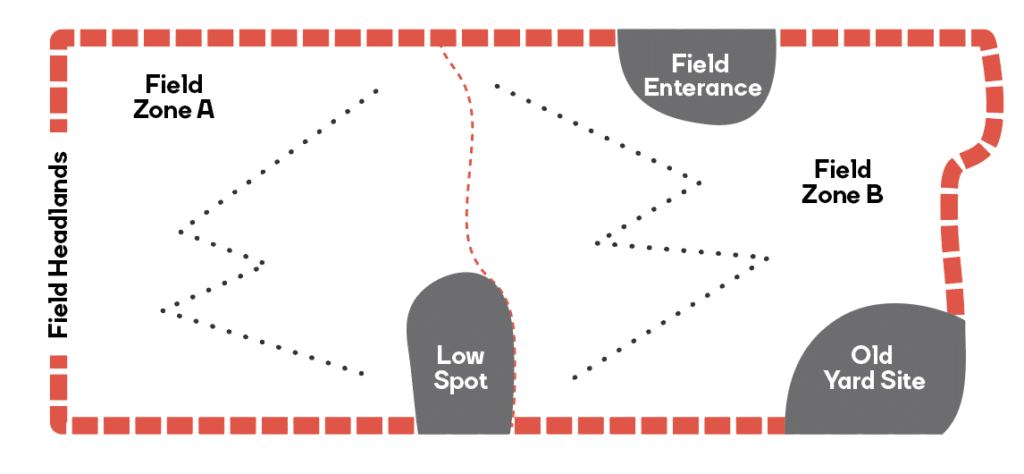
- Field zones with different soil types, appearance and crop growth should be sampled separately.
- Avoid hotspots – field entrances, old yard sites, low spots, saline seeps, corners of fields, end rows, etc. Do not sample within 50 ft. of field boundaries.
- Take 16-20 cores per field (160 acres) – not less than 12 per zone regardless of size.
- Sample in 6-inch increments (e.g., 0 – 6 inches, 6 – 12 inches, etc.).
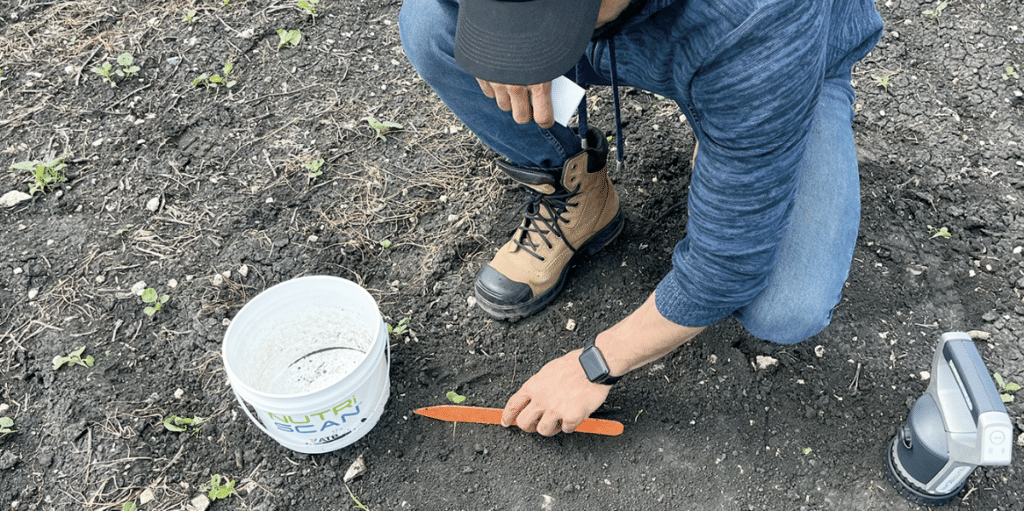
- Mix cores thoroughly in a plastic pail to ensure a completely homogenous composite sample.
- Testing with NutriScan can be done in the field or back in the office:
- Remove as much trash and root material as possible before scanning, as this may alter the final soil results.
- Be sure the contact between the NutriScan unit and soil is tight to ensure no external light seeps in as this may alter the final soil results.

Looking for a quick and easy way to soil test this fall?
NutriScan is a game changing diagnostic technology that gives you access to real-time, rapid, in-field monitoring of soil nutrient status using an easy-to-use, handheld tool – all in a matter of minutes.
For information on NutriScan pricing options or to learn more about the NutriScan, please visit here.
